Sync Okta Users to Smallstep
Prerequisites
You will need:
- An account on the Smallstep platform
Need one? Register here - Okta Super Administrator privileges
- Okta Lifecycle Management Subscription
Features
The following provisioning features are supported:
- Push Groups and New Users
- New users created through Okta will also be created in Smallstep.
- Push Profile or Group Updates
- Updates made to the user's profile through Okta will be pushed to Smallstep.
- Push User Deactivation
- Deactivating the user or disabling the user's access to the application through Okta will deactivate the user in Smallstep.
- Note: For this application, deactivating a user means removing access to login, but the user's devices will not be affected.
- Reactivate Users
- User accounts can be reactivated in the application.
Overview
In this quickstart, we will:
- Create a new OIDC application in Okta, for single sign-on
- Enter OIDC details into the Smallstep UI
- Add and configure the Smallstep application from the Okta Application Directory, for user sync via SCIM
- Confirm users and groups are syncing to Smallstep
Step by step instructions
Step 1. Create Okta OIDC Application
- Start at your Okta admin console (access via "Admin" button next to "+ Add Apps" after successful log in)
- Go to Applications → Create App Integration
- In the pop up select "OIDC - OpenID Connect" as the sign-in method and specify "Native Application" for the Application type.
- New Native App Integration Page
- App integration name:
Smallstep OIDC - Sign-in redirect URIs: Replace the default value with
https://api.smallstep.com/auth/openid/callback - Select "Skip group assignment for now"
- All other value leave as default
- Save
- App integration name:
- Go to the General tab, in "Client Credentials", choose "Edit"
- In "Client authentication", select "Client secret" radio button
- Save
- Go to the Assignments tab.
- Assign any groups or people that will need access to Smallstep to the
Smallstep OIDCapp - Go back to General tab and Save
- Copy the Client ID and Secret from that page
Step 2. Enter your OIDC details into the Smallstep console
-
Start at Connect an Okta IdP
-
Copy and paste your Client ID and Client Secret from Okta.
-
The Configuration Endpoint is derived from your Okta domain. Fill your Okta domain into the following URL:
https://{your Okta domain}/.well-known/openid-configurationThis is your Configuration Endpoint. For example, if you normally sign into Okta at
https://example.okta.com/, then your configuration endpoint ishttps://example.okta.com/.well-known/openid-configuration -
Select whether you'd like to sync users from Okta, invite them manually by email. (You'll configure user sync in the next section.)
-
Save
-
If you chose to sync users, you will see a Base URL for SCIM sync, and an API token (SCIM token). Copy these values for the next step.
Step 3. Add the Smallstep app integration and configure user sync in Okta
- In the Okta admin console, add the Smallstep application
- Applications → Browse App Catalog
- Search for
Smallstep - Select the Smallstep app.
- Search for
-
Click "Add Integration"
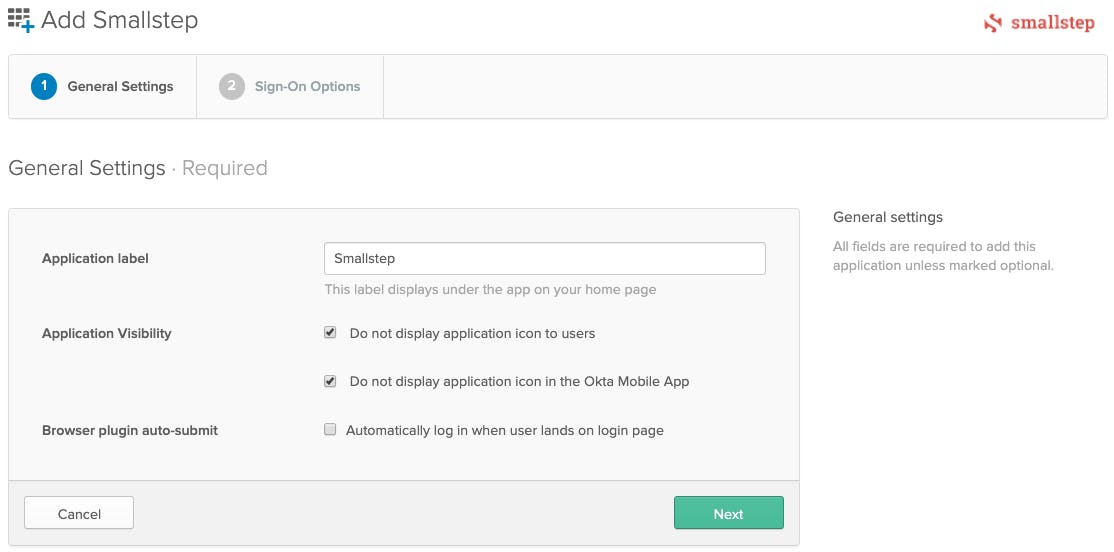
-
Select "Do not display application icon to users"
-
De-select "Automatically log in when user lands on login page"
-
Choose Next
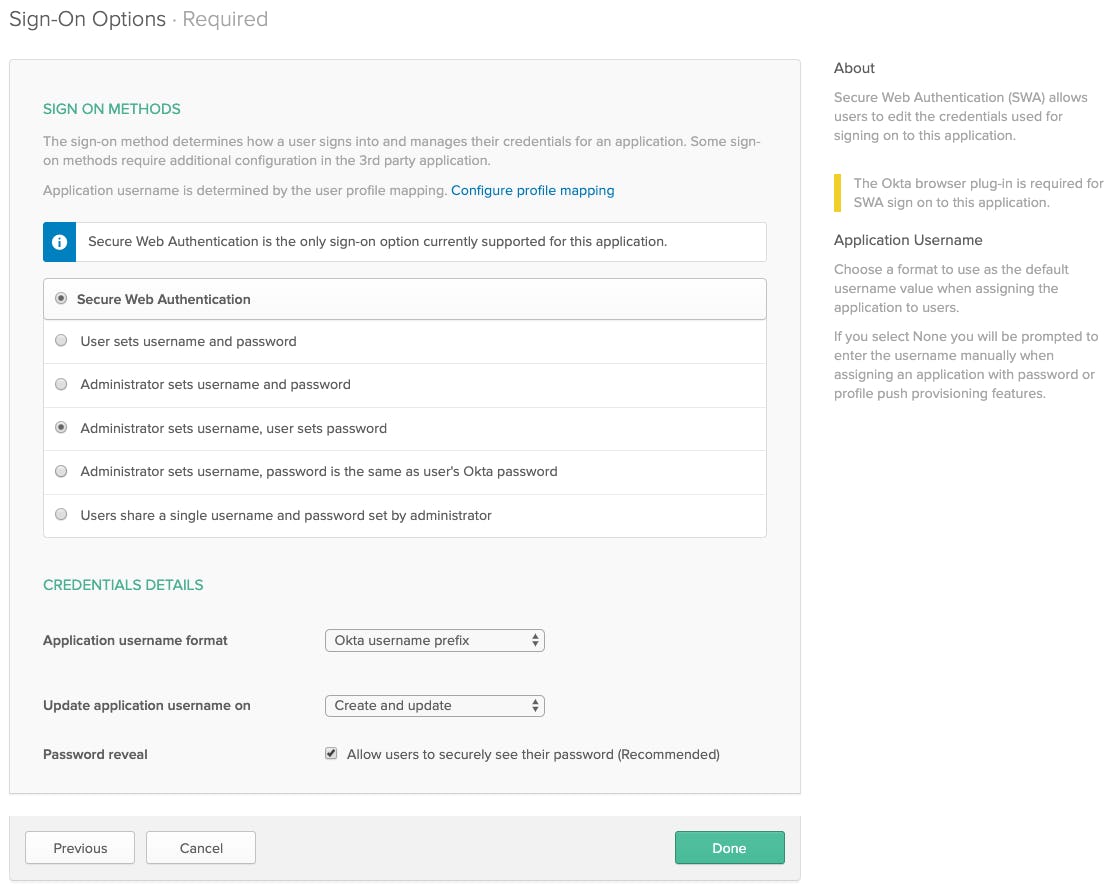
-
Select "Administrator sets username, user sets password"
-
Application username format: "Okta username prefix"
-
Update application username on "Create and update"
-
Done. We'll assign users for syncing in the next section.
Configure provisioning
Next, we'll turn on SCIM provisioning of users from Okta.
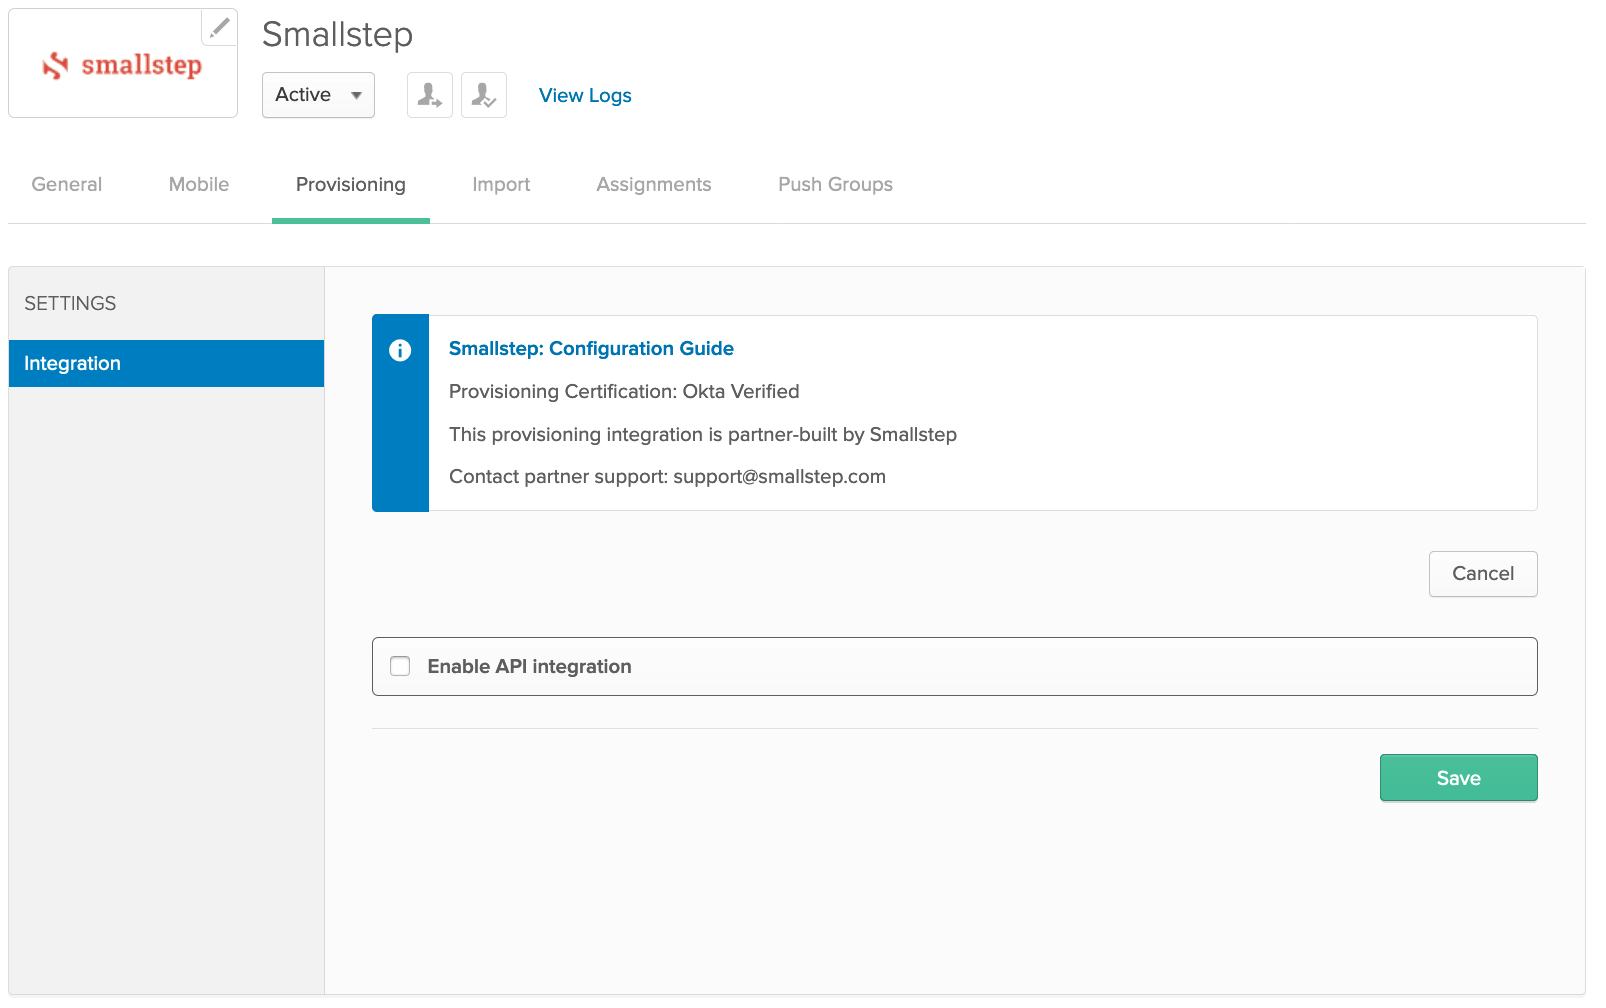
-
Select the "Provisioning" tab
-
Click "Configure API Integration" and select the checkbox next to "Enable API integration"
-
Paste your Base URL for SCIM sync and API Token from the Smallstep console into Okta's Provisioning form.
-
In Okta, choose Test API Credentials. After successful verification, choose Save.

-
Under Provisioning → Settings → To App, choose Edit and enable the following:
- Create Users
- Update User Attributes
- Deactivate Users
-
Save.
-
Configure Assignments:
- Select the Assignments tab → Click Assign → Assign to Groups
- Search by group → Assign any groups that will use Smallstep. Group names that contain a
/are not supported
-
Configure Push Groups:
- Select the Push Groups tab → Push Groups → Find Groups By Name
- Search for the same groups that will use Smallstep
- Save.
- Repeat for each desired group.
Confirmation
Back in Smallstep, go to Users. You should see your Okta users here.
When users are deactivated in Okta, they will be deactivated in Smallstep. Their devices will remain in Smallstep.
Last updated on February 3, 2026
Introducing
Device Identity
Ensure that only company-owned devices can access your enterprise's most sensitive resources.